New Features in Altia Design 13.2

Altia Design 13.2 for Windows 10 is now available! In Altia Design 13.2, you will find new features to help you design your next GUIs even more efficiently. You will also find powerful improvements to our product UX to help you stay focused.

What will you find in Altia Design 13.2?

9-Slice Object

This new feature prevents image distortion by protecting the corners and scaling only the non-corner sections. Top and bottom edge sections are scaled horizontally; left and right edge sections are scaled vertically; the middle section is scaled both horizontally and vertically. With 9-Slide Object, you can now scale and animate images in your GUI while maintaining their crisp, clean, photo-realistic quality.

Dark Mode

Your bright ideas – now in Dark Mode! With Altia Design 13.2, you get the option to work in traditional light mode or our new Dark Mode. Whether you are looking to reduce eye strain, increase your focus or just love the look of your Altia canvas on a black background, we have you covered!

Don’t forget about these other new Altia Design 13.2 features!

Dynamic List Object

The Dynamic List Object allows for the creation of highly customized lists with numerous layout options. Create everything from the simplest of lists to the most highly advanced – with fully customizable behaviors and layout options. In addition, the Dynamic List Object allows the easy creation of dynamic arrays and grids of like objects.

Support for Color Font Glyphs such as Color Emojis

Altia Design 13.2 brings new depth to your communication GUIs with color emoji support! This new support will add an engaging look and feel to your GUI – giving your customers the capability to send and receive incredibly expressive messages.

New Resource Manager Features

These new features are designed to make you more efficient. Altia Design 13.2 offers full drag-and-drop support for project resources, including powerful options to automatically create Image Objects and Decks when dragging image files onto the Canvas.

New Material Blend Modes for the 3D Object – Screen, Multiply and Additive

In Altia Design 13.2, you will find full support for 3D pre-multiplied alpha blending as well as new material blend modes including Additive, Multiply and Screen. These advanced effects will allow you to implement your unique design vision more easily.

Important Defects Addressed

At Altia, our commitment to provide the highest quality software products to our customers is paramount. In Altia Design 13.2, we have addressed 54 product defects to ensure that our quality standards remain unmatched in the industry.

Want to get a look at the new features in this release? Check out our webcast on demand – where we showcase the Dynamic List Object and much more!

Altia Developer Blog Series: Reducing RAM Usage for Altia miniGL Target

Welcome to the Altia Developer Blog Series! These posts are written by our very own GUI experts to present design ideas and smart solutions for developing and deploying embedded user interfaces with Altia Design, our UI editor, and Altia DeepScreen, our automatic graphics code generator.

Be sure to sign up for our newsletter to get this content delivered directly to you!


Reducing RAM usage for a miniGL target

Altia miniGL is an Altia DeepScreen architecture implementation that has been used alongside things like OpenVG and software rendering to generate designs for less capable, resource-restricted targets or environments.

Altia miniGL code is already very optimized in terms of RAM consumption, but if you are still looking for ways to reduce RAM, here are some suggestions worth examining.

Avoid unnecessary objects

Altia miniGL packs data very efficiently, but there are some design choices that can further enhance the effectiveness of this optimization. The Built-In Animations and Image Objects use File System options from the code generation screen will increase the amount of RAM used. These options force your DeepScreen code to allow for more variability, thus reducing the optimization because the range of the data is unknown. This same effect occurs when using Snapshot Objects. Avoid these objects or code generation options if you do not need them.

Generally, the next candidates for RAM reduction are Text I/O objects. These can be trimmed by checking that length of every object so that it only consumes the minimum required amount of RAM. You can adjust your code generation setting max text string length (static memory) to the length in characters of the longest possible Text I/O. This can also save room in the internal data arrays as well. If any of the Text I/Os in these arrays are not addressed by a Language Object or by the logic, they can be changed to static labels. Static labels are stored on ROM instead of RAM.

Same images, same name

If your design contains multiple references to the same image source file, make sure that all the animations where this image is used share the same name. If you copy and paste an image object, the name is incremented automatically. You can see an example of this below.

This can be prevented by appending _global to the animation variable name and is also demonstrated below.

Now, all these different objects will load and reference the same image instance in RAM. This enables embedded wizardry like reducing a solid color background image to a single column of pixels copied for the width of the display. This will use the minimum amount of RAM versus loading an entire image. This must be done alongside unselecting the Image Objects use File System option under code generation. Now the same image data is referenced by however many image animations share a name in the generated binary file.

It’s best to test

Lastly, remember to test and compare the results of all methods mentioned in this post. Estimating RAM usage is highly system dependent and the most reliable answers to your questions will be to generate and compile code for your device and design. Similar looking designs can differ greatly in RAM usage due to design implementation. Moreover, the same design can have radically different memory usages on different hardware. For example, some devices can reference the image data directly out of Flash and put it into the framebuffer. But other devices may need to have RAM copies of images to render them.

Just remember, there are so many variables at play on an embedded platform, that estimates of a project’s total RAM usage is likely to be inaccurate. There is no better way to find your system’s RAM usage than running your design on your hardware – and Altia makes it easy to do just that.

Want to learn more about Altia code generation? Request a live demo with us today!

When Embedded Experts are Scarce: Low-Code/No-Code HMI Software to the Rescue

As beautiful HMIs take over the automotive cockpit, the demand for embedded coders to develop them is soaring. But there too few embedded developers in the world to do all the work. How do automotive companies with urgent project schedules deliver?

OEMs and Tier 1s leverage their entire teams to overcome the limited number of coders and keep pace with product schedules. UX experts, graphic designers, system security experts, functional safety experts and more are members of these HMI teams; their input must make it onto the embedded device.

Low-code/No-code GUI development environments empower automotive development teams to succeed.

Join Jeff Stewart, Altia Director of Field Application Engineering, on this free recorded webinar as he dives into:

  • How teams are tackling design today
  • How embedded experts can focus on getting their designs to hardware
  • The benefit this approach brings to software developers
  • How to reduce waste and improve overall product outcome by allowing all members of team to contribute to final product

Watch the free webinar on-demand. If you have any questions, contact us at [email protected].

Getting Started with HMI Design Software

HMI, GUI, GPU, HUD, UI, UX—we have quite a few acronyms in the user interface software industry and we can easily get caught up in our own version of alphabet soup. If you’re just getting started with HMI design for automotive systems (or medical devices, home appliances, consumer devices or fitness equipment – since the basic principles apply), you’re in the right place. We’re going to break down some of these terms, dive into automotive HMI software and talk about what it takes to develop your own HMI or GUI.

First, let’s define HMI

A Human Machine Interface (HMI) is the user interface that connects a person to a device. HMIs use special software so that engineers can program any desired functionality.

We like to think of HMIs, especially automotive HMI, as the place where art meets engineering. You want your HMI to balance art and design with high performance and intuitive functionality. Does this sound a bit like UI? Yes, we think so too. We’re talking about UX (user experience) and UI (user interface) when it comes to HMIs and GUIs as well.

Now, what about GUI vs. HMI? GUI (pronounced gooey), or graphical user interface, is a term that software engineers tend to know and use because the focus is on the graphics.

The term HMI is something that took hold in the auto industry because the focus is on the machine and there are hundreds of ways a human can interface with the machine, not just the GUI. However, in our case we tend to think of HMI and GUI as one in the same.

We love graphics and bringing them to life in beautiful and useful ways. Our GUIs can blur the line with HMI because we’re not just designing the vehicle’s screens that are front and center—we are often integrating voice, logic, physical controls and more.

HMI for automotive design and development

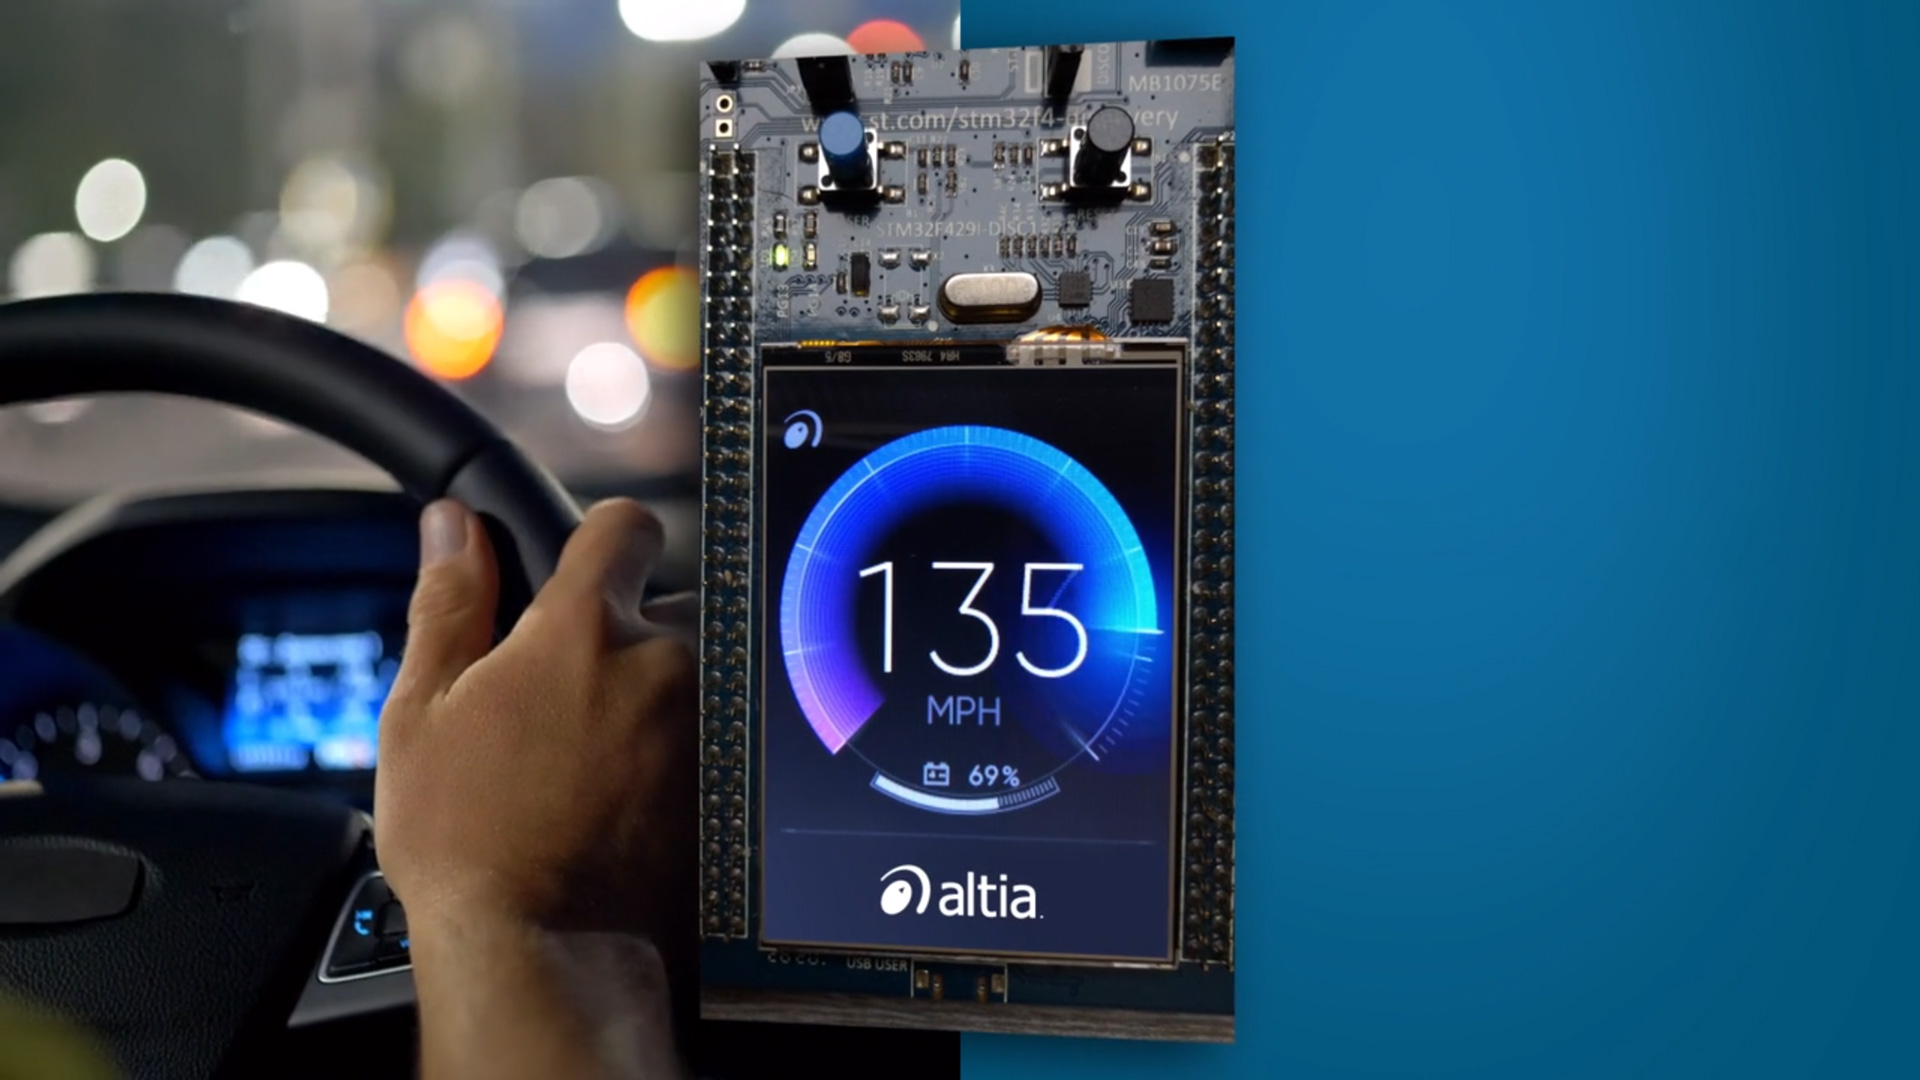
When we think about automotive HMI, all of our embedded displays should give the end-user a peek into the machine, but still keep the magic alive. The HMI will include all of the displays a human can touch, see or use to control the car’s functions or receive feedback on how the car is performing.

With automotive HMI design, we encounter a multitude of new acronyms, especially concerning automotive instrument clusters:

  • IVI: in-vehicle entertainment
  • RSE: rear seat entertainment
  • HUD: head up display

Other words you might come across: interface, screen, display, digital dashboard, e-cockpit, integrated cockpit or domain controller. These are terms that are sometimes used interchangeably, depending on the industry or team member.

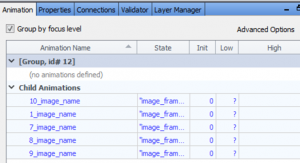
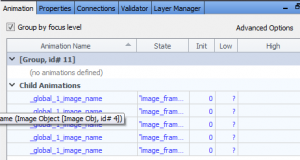
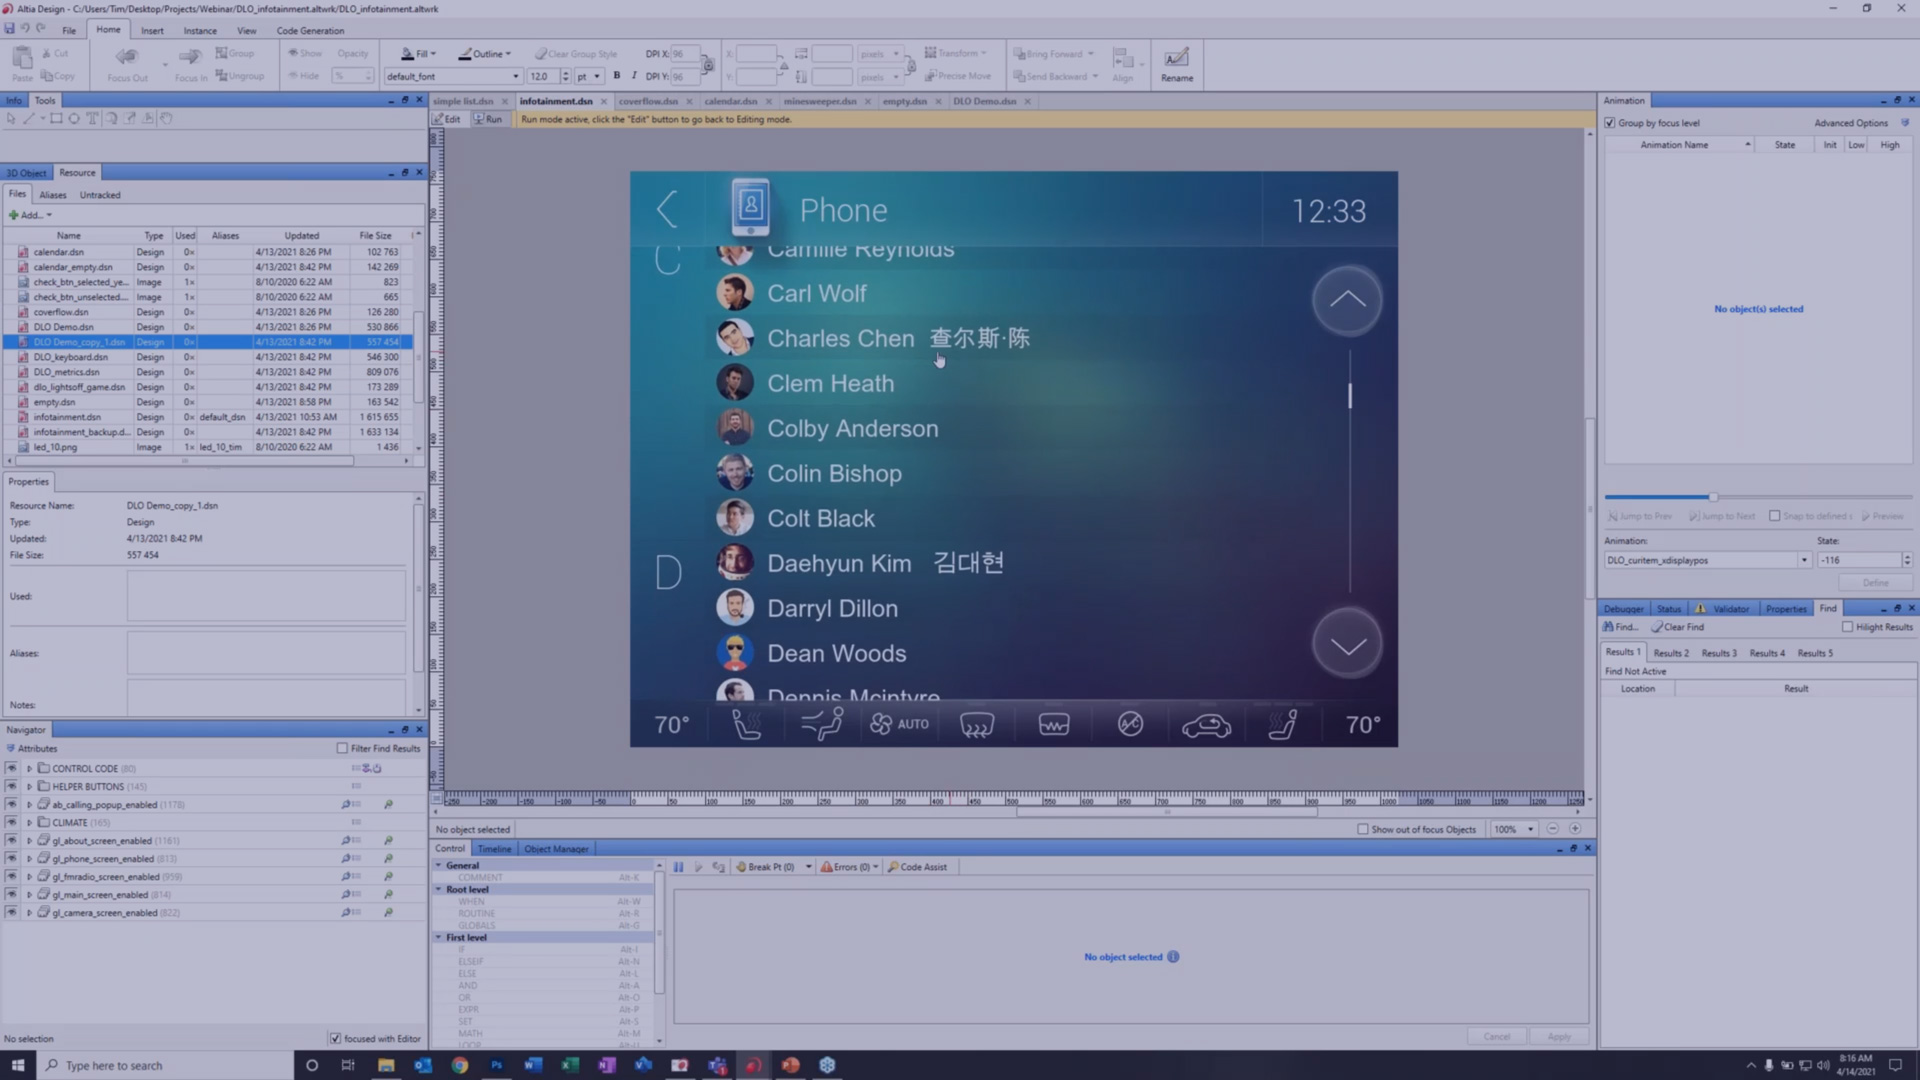
Our HMI software allows the engineer to design what the driver or operator will actually see on the screen. The screen might have buttons, maybe a touch screen maybe not, that control what the HMI is meant to do—whether that is display speed, play your favorite music or highlight obstacles on the road—all of these are designed with the end-user in mind.

All of these HMI elements vary as far as user interaction. This is why we need to work together as designers, software engineers, UX experts and hardware engineers. We need all of these perspectives to bring the HMI to life.

Problems and solutions

If you’re just getting started with HMI, some of the concerns that come up first tend to be: who does what and how much does it cost? Let’s talk about the team first. Typically, building an embedded display requires an artist or designer, UX and UI experts, software engineers, hardware engineers, system architects and testers.

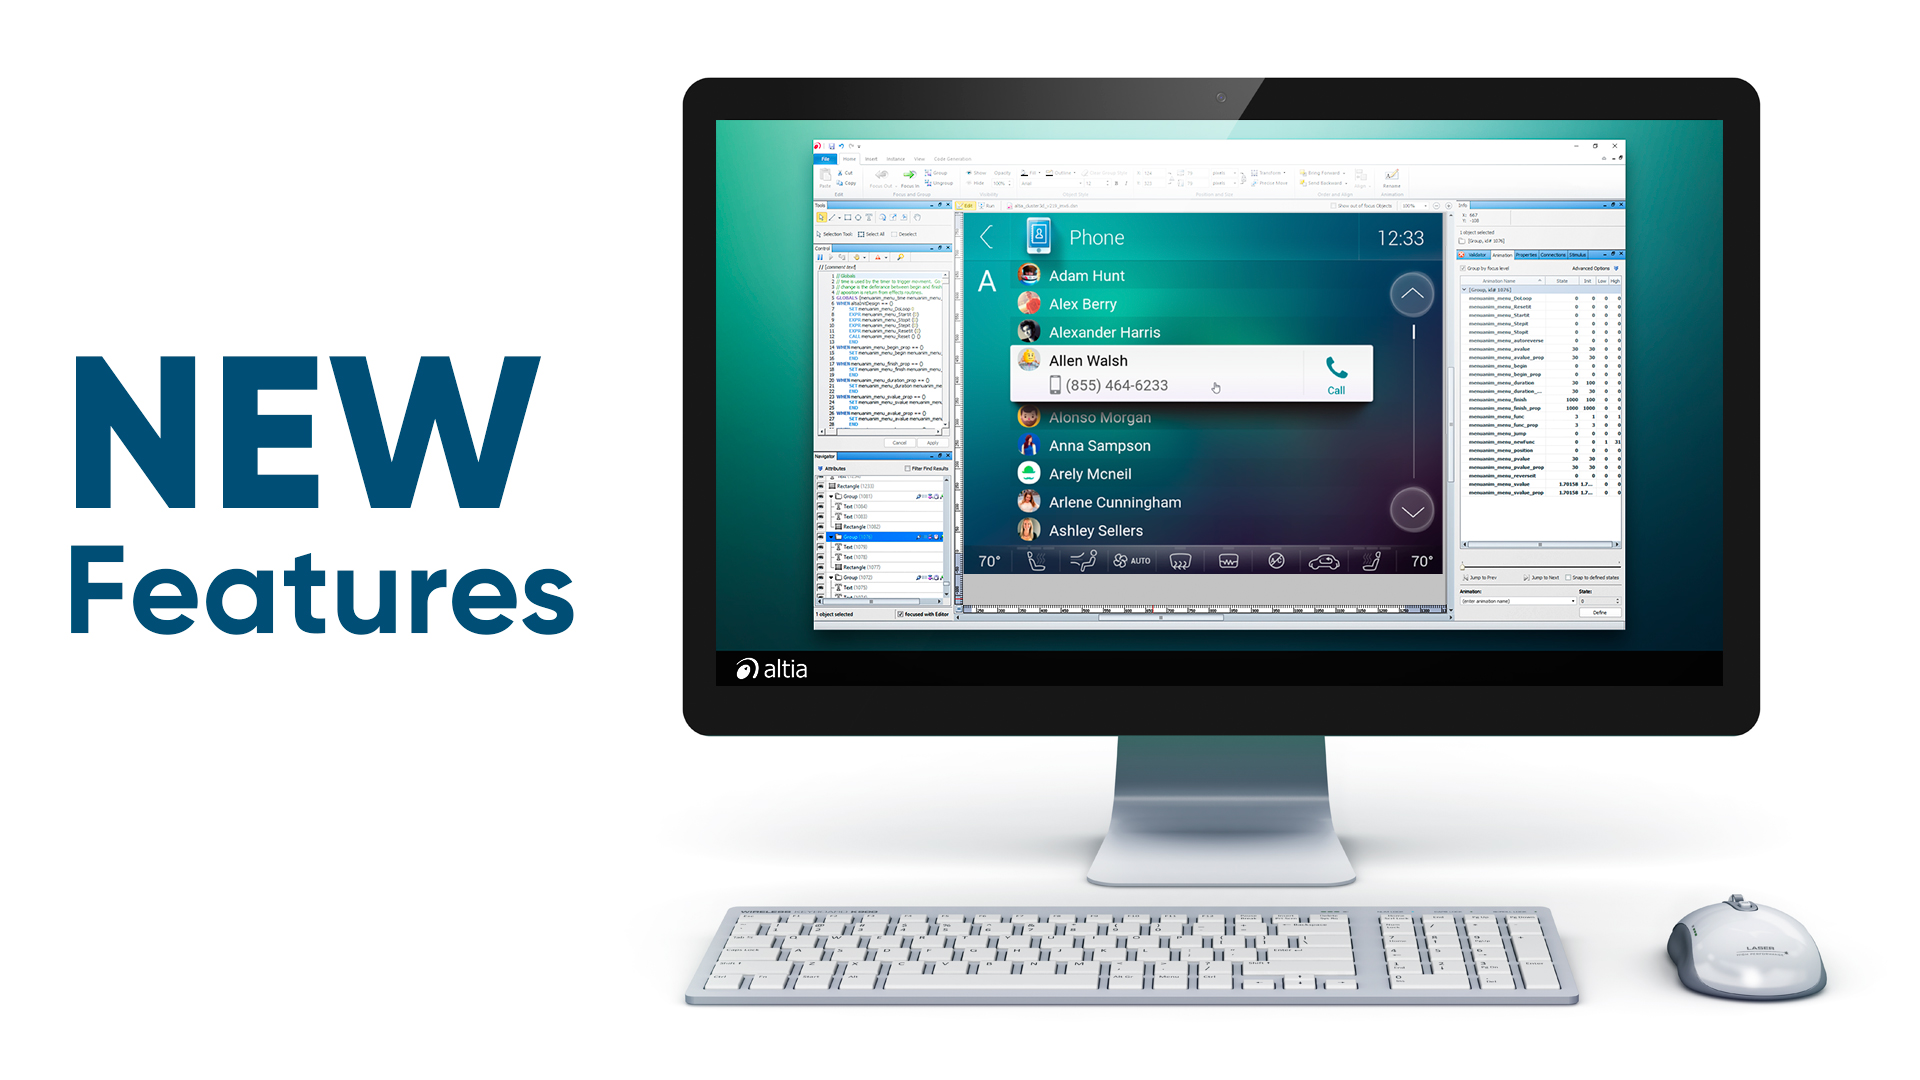
The artists have such a broad range here – they may not just be a graphic designer. We tend to see artists or designers bringing in logic as well as beauty. Here at Altia, we tend to utilize our GUI or HMI developers in the artist role, because they can create the art, but also code it.

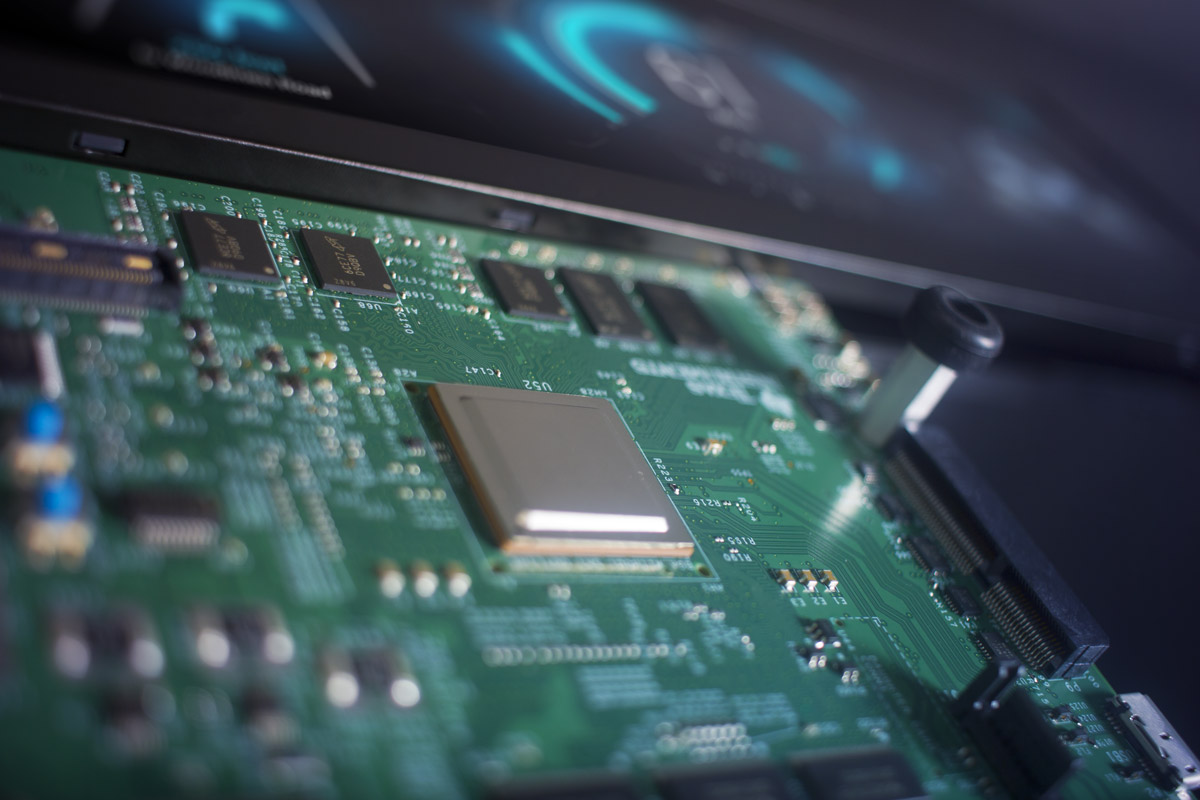
The software developers or engineers in this role will be the people writing and integrating that code, while the system architects fit all the pieces in place, really thinking about where this code will run. That’s where the hardware engineers come into the workflow.

Next, the testers make sure it actually works – this activity may take a variety of forms, but ultimately the team is testing for quality assurance and reducing time-to-market. Does the code do what we want it to do?

We know that automotive HMIs need to be fast and intuitive, but they also need to be fail-safe. All the while, the UX team is really thinking about why and how the end-user will press the button.

The next obstacle: cost

At first, you might think it’s cheaper to design your GUI in-house, especially if you have someone who can code by hand. However, when you really start planning it out, you will quickly see that all of the variations can grow, taking way more time and energy than you planned.

In addition to someone who can code, you will need an artist or designer. This is the part we love, where the magic of bringing a GUI to life happens. Altia Design, our GUI editor, offers the power to turn your artists’ artwork into completely custom user interfaces.

Your artists can design in any 2D or 3D graphics tool– Photoshop, Illustrator, Maya—whatever they want to use. Altia Design turns those graphics into functional prototypes and prepares them for the deployable code you need for your project.

We know that the upfront costs can be daunting, and we’re here to help find solutions that will work for you. We can fill the gap that your team is missing, ensuring that your GUI has exceptional quality and delivers results.

Beyond automotive HMI

If you truly stop and think about how humans interface with a vehicle, the automotive industry has been working with HMI in some capacity for over one hundred years. As automotive complexity has grown and the pervasiveness of displays has increased, those HMI designers are putting more and more content onto embedded screens. Functional safety is now a big concern. You need to have the correct safety-critical data on the car’s displays at the right time.

Beyond automotive, the medical industry is seeing the need for embedded displays for medical machines and devices. It’s a critical time for people to be able to interact with the machines that we’re starting to see in every emergency room, operation room and at the bedside. Medical device manufacturers are challenged with creating intuitive interfaces so that surgeons can perform operations with speed, and most importantly, safety.

Medical device developers face the same challenges as automotive HMI development teams—to provide fail-safe user interfaces for their devices.

Altia has been working with companies beyond automotive to provide HMI design for safety-critical systems –like medical devices and medical applications, like insulin pumps, blood recovery systems and anesthesia solution. Check out two recent case studies: Medtronic Develops FDA-Certified Medical Device with Touch Screen and Multi-Language Support and High Impact, Low Power, Life-Saving GUIs to learn more about these medical GUIs.

When we think about HMI, it comes down to software design that allows humans to guide what the computer communicates to the end-user. Ultimately, providing a visual representation of what’s happening inside a car, washing machine or medical device.

If you’re trying to figure out a solution for your HMI, GUI, embedded screen—whatever you choose to call it—we can help. Contact us at [email protected].

Learn more about the power of Altia Design. Complete the form to get immediate access to this informative webinar.

Introducing the Dynamic List Object and More in Altia Design

Play

Need Inspiration?

See what Altia can do on our Demos page.

Need Help?

Out Product Support Team is ready.

Need In-Production Examples?

Check out our customer success stories.

The Chip Shortage is no Joke

It is definitely not a secret that the chip shortage is real — and making it very complicated (if not impossible) for companies to get their products out the door.

We know production must continue. Smart companies are already working to get ahead of the forecasted shortage that could slow, stall or stop their production lines.

Altia’s CEO, Mike Juran, wrote about this very issue in a recent article for WardsAuto.com — “When Chips Run Low, Smart HMI Design Saves the Day”.

“Smart product design includes a plan to be flexible when silicon becomes scarce so the OEM can rapidly pivot their HMI to other chips. OEMs must remember that when selecting chips; choices they make at the design phase can have repercussions across their entire business.” — Mike Juran

As automakers look ahead toward production schedules and try to predict availability of critical hardware for their embedded displays, our team is helping them to map out solutions that will allow them to remain in production. For example, some Tier 1 suppliers are taking existing user interfaces and generating code for a wide range of DeepScreen targets to find hardware that they can use to keep their production lines from grinding to a halt.

Our team is actively working with Altia DeepScreen users to explore alternative hardware for their HMIs among the chips that are more readily available right now

If you’re concerned about the availability of your hardware and want to explore your options, please get in touch today.

Live Webinar: Introducing Altia Design 13.2 and the Dynamic List Object

Altia Design 13.2 is here! We are rolling out new features that will improve user experience and allow customization for better engagement.

As part of our continued webinar series, Introducing Altia Design 13.2 and the Dynamic List Object live webinar will take place on Wednesday, April 14 at 10:00 am ET/ 8:00 am MT.

To register for the webinar, click here.

In this webinar, Jeff Urkevich, Director of Product Marketing, and Tim Day, Product Manager, will be presenting an overview of the latest features in Altia Design 13.2 and deep dive into the new Dynamic List Object.

These powerful new features will allow true innovation – you can create extremely simple lists or highly advanced, fully customizable lists and layouts.

In this webinar, you will:

  • Gain insight on how to utilize the new customizable lists and layout options
  • Discover how easy the creation of dynamic arrays and grids will be in this release
  • Learn about new color emojis and drag-and-drop support features to add an engaging look and feel to your GUI
  • Find full support from Altia for 3D pre-multiplied alpha blending modes
  • Ask any questions about the latest release

Register here.

We hope you will join us!

Translate »